DISPLAY DIFFERENT LAYOUTS USING FRAGMENT IN A ANDROID STUDIO APP
Android Studio makes App development so easy with supported libraries and classes. Today we are discussing how to show different layout within the main fragment. ( A layout is GUI Windows in Android Studio, where we can place controls and widgets)
Android Version: 22
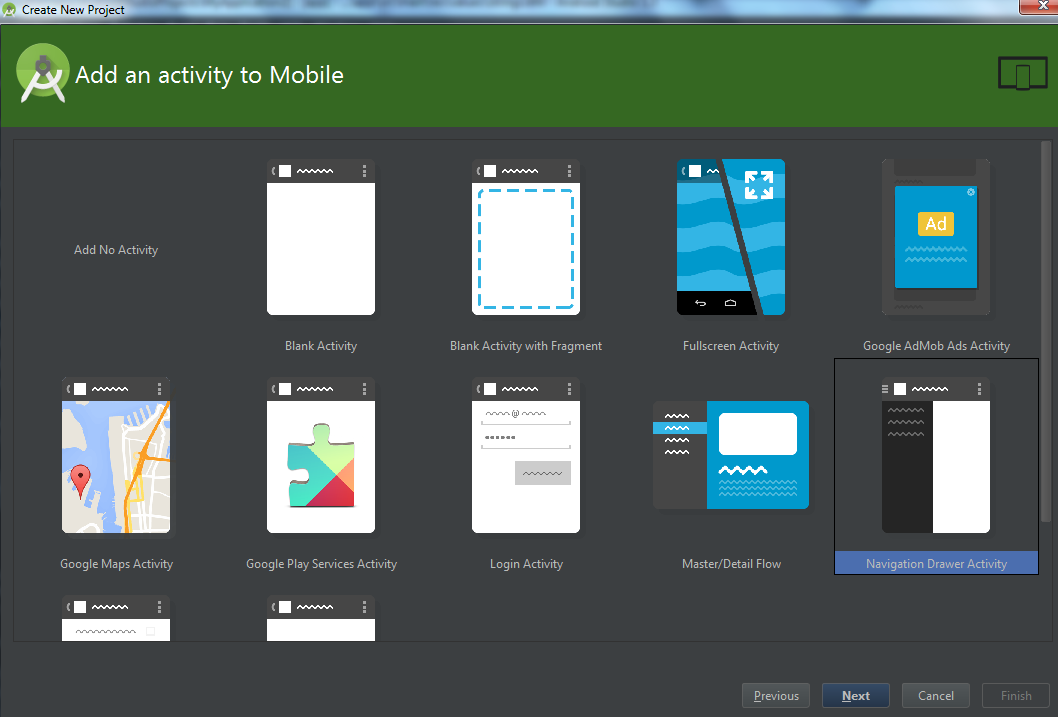
Begin a New Android Project with Navigation Drawer Activity. Go to Layout folder of the project and access fragment_main.xml and add a FrameLayout at the end of the Relative Layout tag, replace the TextView, if exist.


How ?
Basically, this can be done by placing a frame layout inside the main fragment layout and place the different layouts.Create the Drawer Activity App
Android Studio Version: 1.3Android Version: 22
Begin a New Android Project with Navigation Drawer Activity. Go to Layout folder of the project and access fragment_main.xml and add a FrameLayout at the end of the Relative Layout tag, replace the TextView, if exist.
<FrameLayout
    android:id="@+id/FrameContainer"    android:layout_width="match_parent"
android:layout_height="match_parent"></FrameLayout>Note that we assigned an id for the FrameLayout, which can be accessible using the id. You can also customize the Drawer menu by changing the string.xml resource file.
Now we need two additional resources.
- An addition Layout
- Java Class representing Additional Layout.
Creating a Frame Layout
In Android a Window has two sides, one has GUI and design and a program part/machine part.
Let create our first FrameLayout XML file By Right click the Layout folder - New - Layout Resource File and enter following Details
Name:dashboard_fragment
Root Element : FrameLayout
Click OK and Drag Large Text Files and add "This is my Dashboard" as Text, in order to identify. We also need the second part, a class to represent the Layout.
Creating Class
A Java Class is behind the wheel for every Layout, it should extend the fragment class.
Right click your Main_Activity -New - Java Class with Name DashboardFragment and add the following overridden OnCreateView method.
public class DashboardFragment extends android.support.v4.app.Fragment {
    @Nullable    @Override    public View onCreateView(LayoutInflater inflater, ViewGroup
container, Bundle savedInstanceState) { View rootview=inflater.inflate(R.layout.
dashboard_fragment_main,container,false); return rootview;    }
}
The Navigation Fragment event
We can fill the MainFragment's FrameLayout with the help of fragment manager, just go to the NavigationDrawerFragment.Java and find the private void selectItem(int position) method, at bottom of the line add the following code.
android.support.v4.app.FragmentManager frg=getFragmentManager();if (position==0){
    frg.beginTransaction().replace(R.id.FrameContainer, new DashboardFragment()).commit();
In the above code, we just replace the content of FrameContainer with new FrameLayout. You can add as many as the layout in the same manner. Here position carries menu item id.Let's Run the project
Comments
Post a Comment